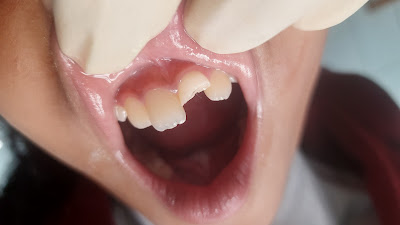
This was a ten year old girl who jumped off a wall, fell on her face, and broke her tooth.
The first thing I did was a root canal treatment. Here's the X ray:
That's my assistant's finger.
After cutting retention grooves in the tooth...
Then etched the tooth with phosphoric acid...
Followed by filling the space in the root canal I had created with a flowable light cured resin gel...
In which I placed a fibre optic post of the appropriate size which I had already tested for adequate fit...
Red, in this case (note the red band on the top). The three post sizes most commonly used, in increasing order of diameter: yellow, red, blue.
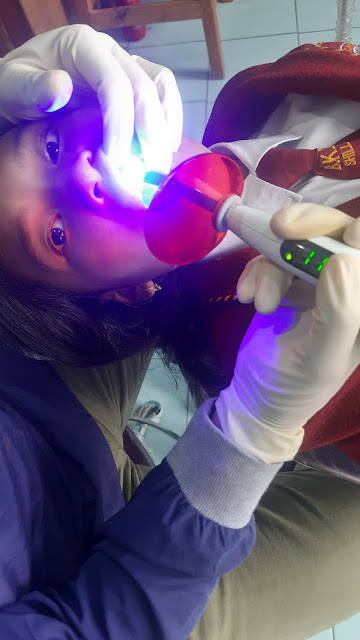
I then hardened the flowable resin with a light cure unit, sealing the post in place:
(Each subsequent layer of filling material was similarly hardened.)
Then I started building up the back of the replacement part of the crown with light cured filling material that is extra white to block out the dark shadows of the inside of the mouth which would otherwise make the replacement look dark:
After building up the back of the crown, I cut off the excess fibre optic post.
Then I started adding more light cured resin filling material of the correct shade to match the other teeth to the front of the built-up crown:
At this stage it's bulky and rough in appearance, and the anatomy doesn't match the other intact incisor. Notice those two notches in the other tooth? The bulges between them are called mamelons, and I had to reproduce them by careful cutting and shaping
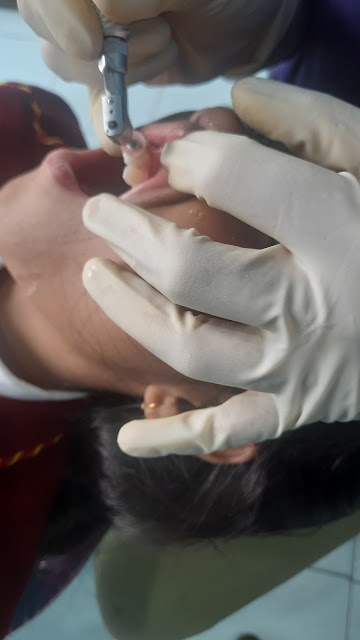
Then I polished the filling:
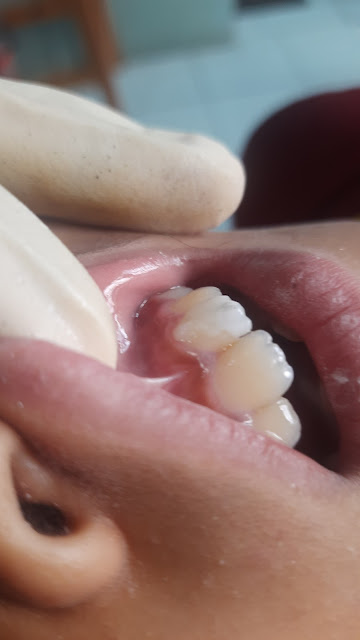
Voila:


Good job Bill!
ReplyDelete